The hike to Grinnell Glacier in Glacier National Park is a bucket-list adventure. A trip to Glacier would not be complete with out experiencing the unreal neon blue glacier lake, the majestic mountains and stunning waterfalls. But of course, the best part of this hike is the grand finale…seeing a glacier up close!
There is a lot of to know before starting this hike, and a few things you need to do well in advance to prepare.
Let’s start with the things that need to be done in advance.
Grinnell Glacier is in the Many Glacier part of Glacier National Park. From May 26-September 10, you must have vehicle reservations in order to enter the park. For this hike, you will specifically need Many Glacier road reservations. These are separate reservations from Going To The Sun Road.
Road reservations go on sale at recreation.gov on March 1, April 1 or May 1, depending on what month you will be visiting. You do not need a vehicle reservation if you have a boat shuttle booked for that day. For more information about road reservations, check out “10 Things You Need To Know Before Booking Your Trip To Glacier National Park”
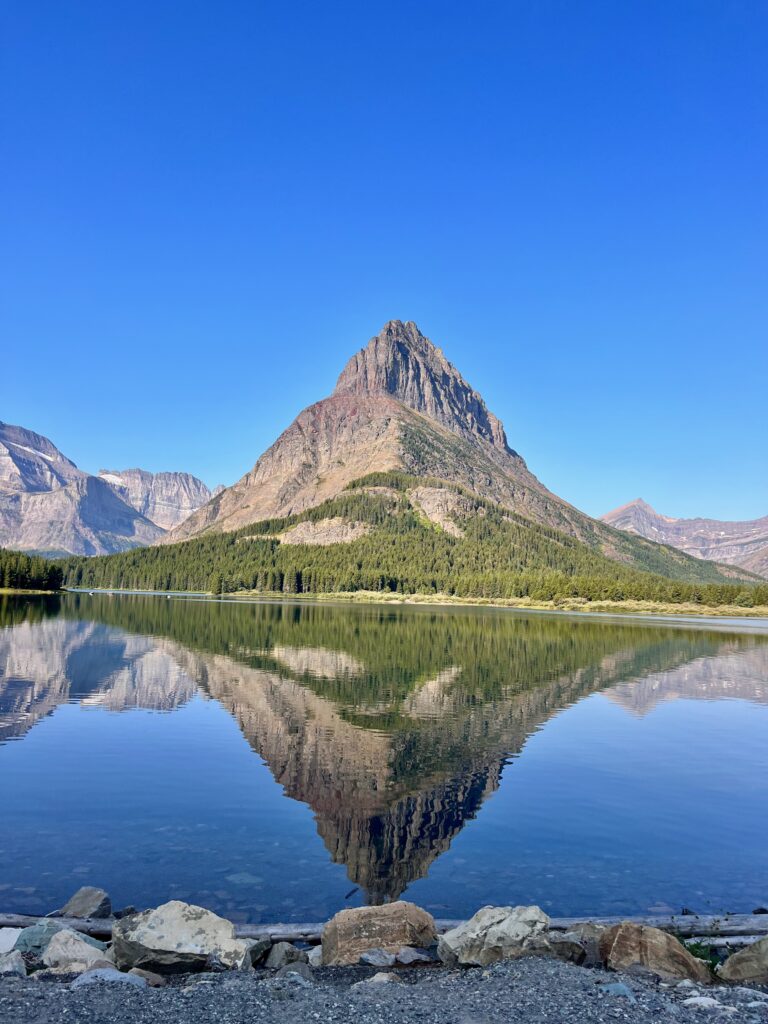
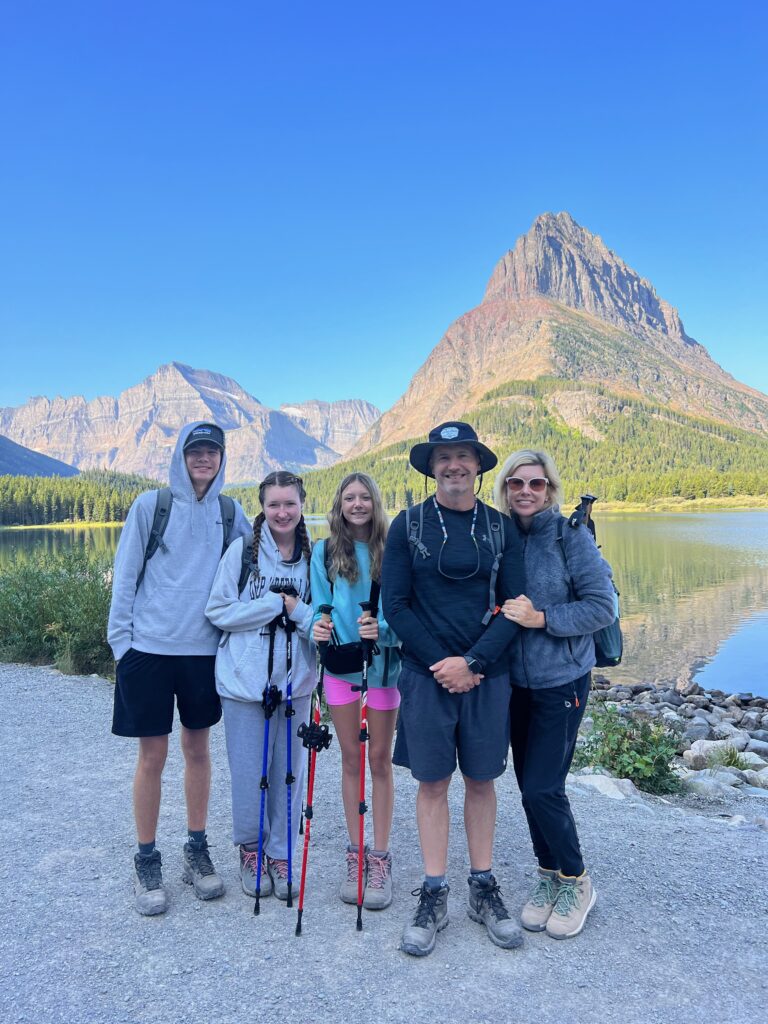
boat shuttles
An important note: the hike to Grinnell Glacier in Glacier National Park is an 11 mile hike, roundtrip. However, there is a series of 2 shuttle boats that take you across both Swiftcurrent Lake and Lake Josephine, which cuts 4 miles off of the hike, making it only a 7 mile hike.
If you want to do the boat shuttle, you will need to reserve your boat shuttle reservations at Glacier Park Boat Company, well in advance.
Morning Shuttles Are A Must
If you want to cut the miles off of the hike and still have enough time to hike up to the glacier and get back by the time the last shuttle boat departs at 5:30pm, it is imperative that you get reservations on one of the morning shuttles.
The available morning times are 8:00, 8:30 and 9:00. After 9:00, the next boat shuttle is not until 11:00 am. Taking the 11:00 shuttle will not give you much time to hike all the way up to the glacier and back, putting you in a scenario where you may miss the last shuttle departure and have to walk an extra 2 miles.
These morning slots fill up fast (there were none left when I booked 5 months in advance). If 11:00am or later are the only times available, still purchase the shuttle.
Shuttle Waiting List
As long as you have a reservation, you can arrive at the dock early and get on the waiting list for the 8:00, 8:30 and 9:00 shuttles. You have to be present to get on the waiting list, and they will call names in the order you put your name on the list.
The chances of getting on one of the morning shuttles from the waiting list are high, especially if you start at the 8:00 am waiting list. There was a party of 17 people in front of us who all got on the shuttle from the waiting list.
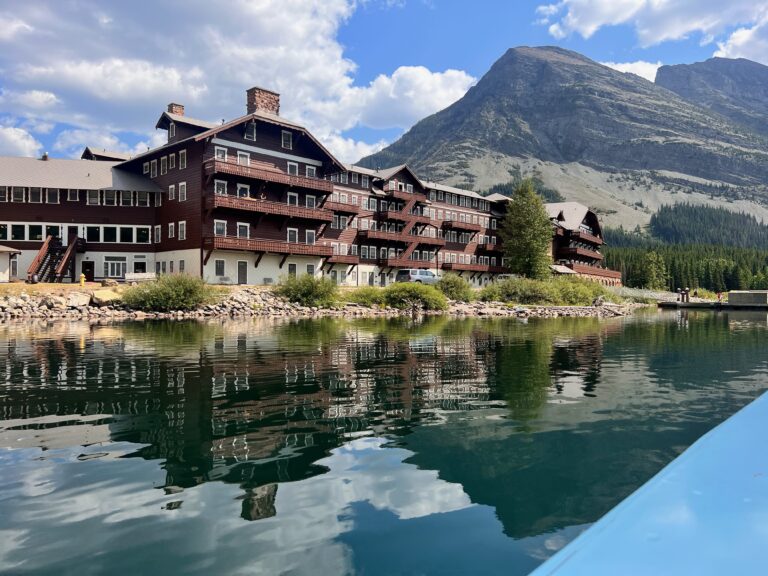
The boat dock is at the Many Glacier Hotel. There is a cafe and gift shop with snacks and coffee that you can eat at while you wait. Just make sure someone is outside at the time the shuttles take off so you can hear if your name was called for the waiting list.
Tips:
Weather note: Layers are so important on this hike. If you start the hike early in the morning, it will be cold outside. When we started at 8:30am it was 48 degrees! In August! Once we got into the sun by Lake Josephine, we started taking off layers. By 11:00 am it was in the 80s. By the time we got to the glacier it was in the 90s.
Hiking Poles: You will want hiking poles on this hike. Even if you have never used hiking poles before, you will want them for this one. It helps with the ascent and descent, and your knees will thank you! These are the hiking poles we have.
Swiftcurrent Lake and Lake Josephine
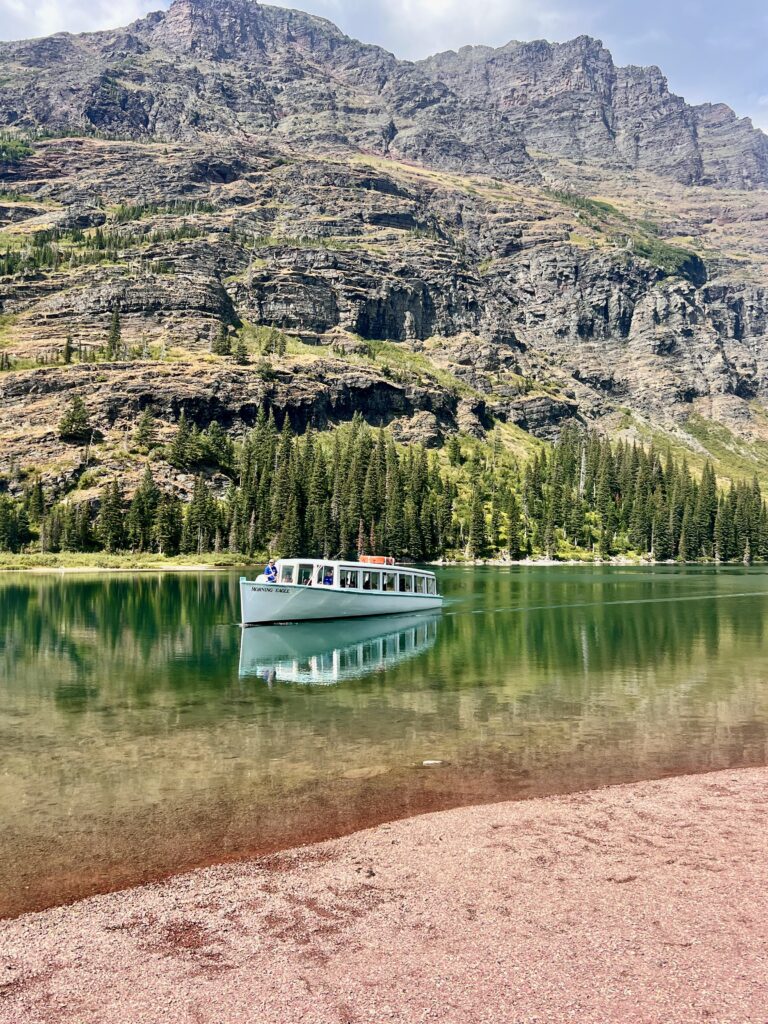
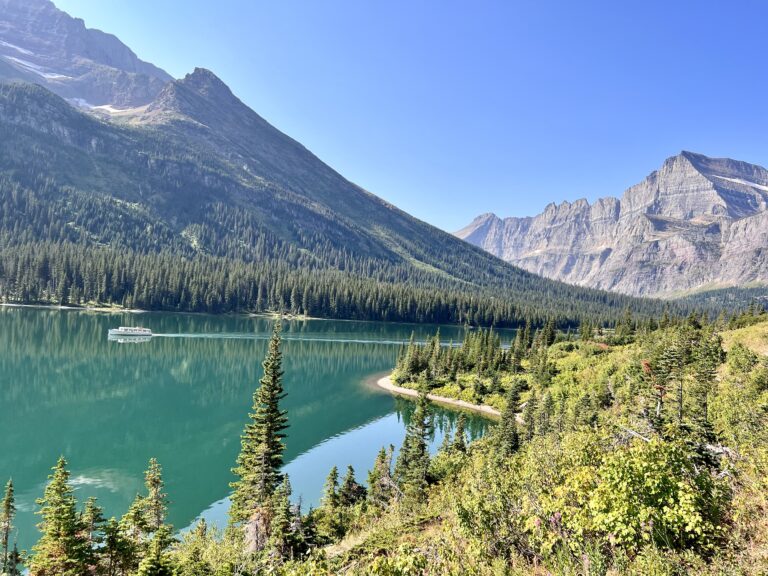
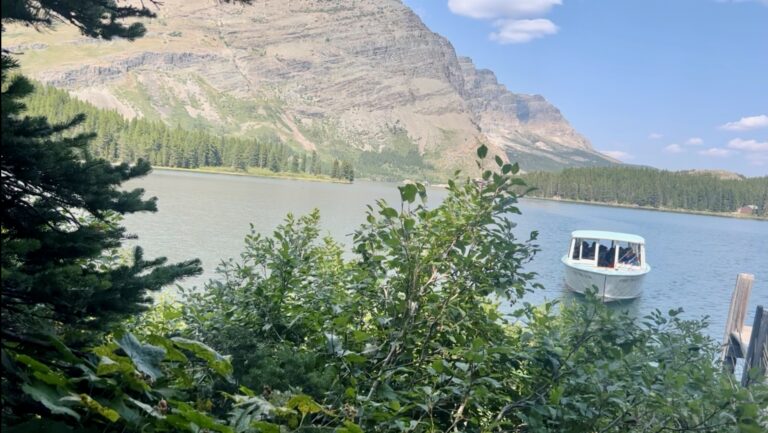
If you are lucky enough to get on a morning shuttle, you will board the first of two shuttles at the Many Glacier Hotel. The first shuttle will take you across Swiftcurrent Lake. You will disembark that shuttle and walk about a quarter mile to get onto the second shuttle, which will take you across Lake Josephine. These two shuttles will cut off the first 2 miles of the hike.
Tips For Return Shuttle
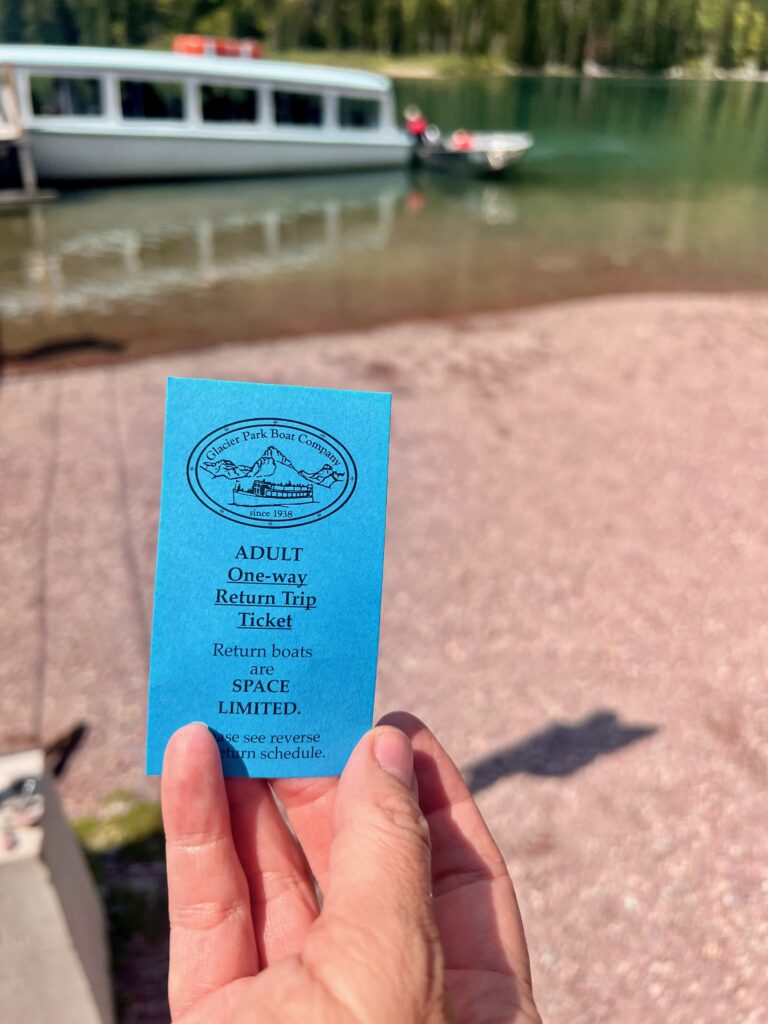
You will receive a return ticket for the shuttle–don’t lose it! Keep it in a safe place and take note of the return shuttle times on the back of the ticket. They come once an hour. If you miss it, you may have to wait an hour for the next one. Also, you are not guaranteed a spot on the shuttle. It is first come-first serve.
There will be a line of people waiting to get on the shuttle. They will take the first 50 people in line. If you aren’t in the first 50, you will have to wait an hour for the next shuttle. The best scenario is planning to arrive at the shuttle dock 30 minutes before it comes.
Take note of the time when you leave the dock (or when you pass the shuttle dock if you are walking around the lake) and keep track of how long it took you to get from there to the glacier. Allow yourself that same amount of time to get back to the dock in time for the return shuttle.
Hiking Without The Boat Shuttles
If you are not taking the boat shuttles, you will still start your hike at the Many Glacier Hotel. But instead of boarding the shuttle, you will start at the trail head and walk through the woods around Swiftcurrent Lake, and then again around Lake Josephine.
There aren’t many views on the hike around Swiftcurrent Lake since you are walking through the woods, but you should enjoy this part of the hike as it will be the only shade you are in for the rest of the day.
We were not one of the lucky ones who got the morning shuttle. I didn’t know about the waiting list, and we had the 11:00 am shuttle, so we just decided to hike from the trail head and then take the return shuttle back. When we arrived to start our hike at 8:30am, we found out that we could get on the waiting list for the 9:00 shuttle.
If there wasn’t a single party of 17 people in front of us, we would’ve been able to get on. Wish we had known, we would’ve shown up earlier!
Once you reach the other side of Swiftcurrent Lake, the remainder of the hike is out in the open and if it’s sunny, you will be hot. Be sure to pack sunscreen and lots of water. We packed our 40 oz Hydroflasks and then a full 18 oz water bottle to refill our Hydroflasks.
Hike to Grinnell Lake Overlook
The hike around Lake Josephine is pretty, the lake is a beautiful green color. We kept saying how beautiful it was and took lots of pictures of it. We had no idea that the glacier lake waiting for us on the trail ahead would make this beautiful emerald lake pale in comparison.
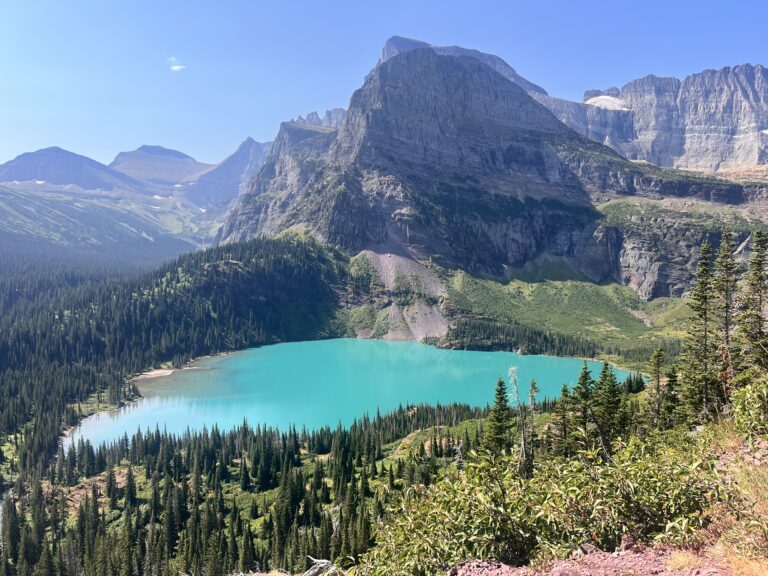
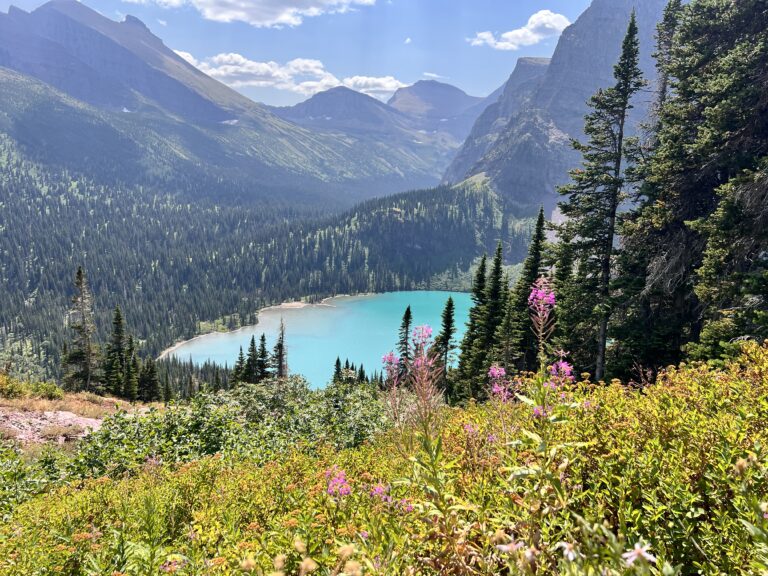
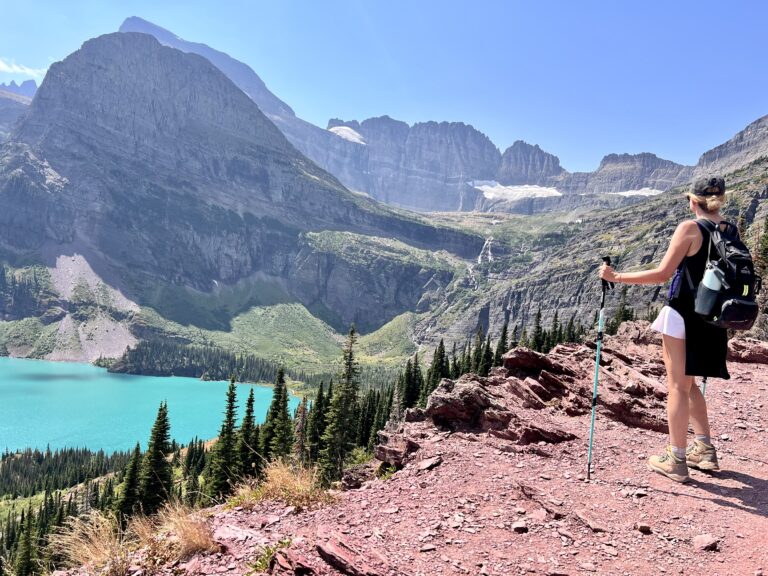
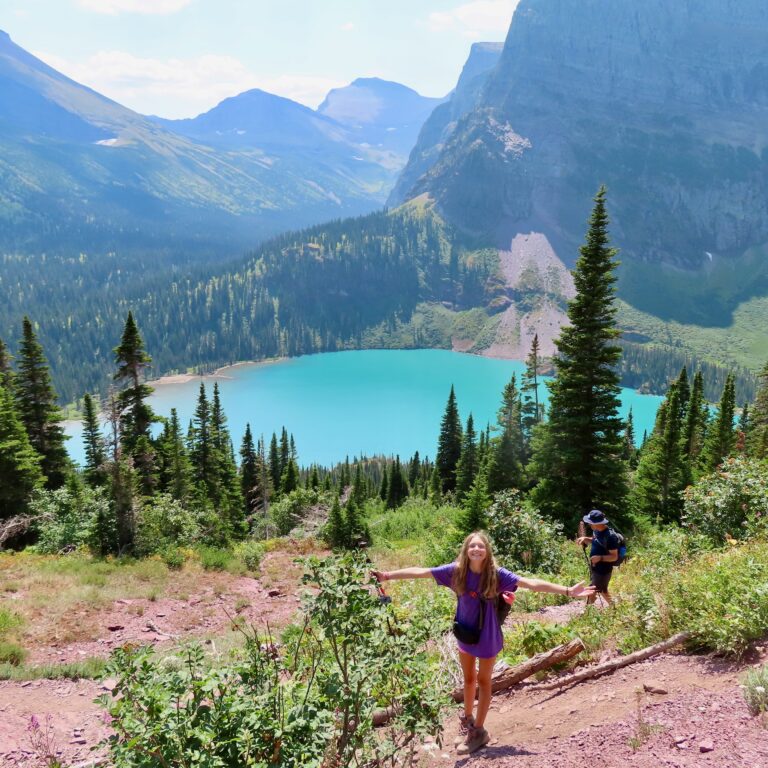
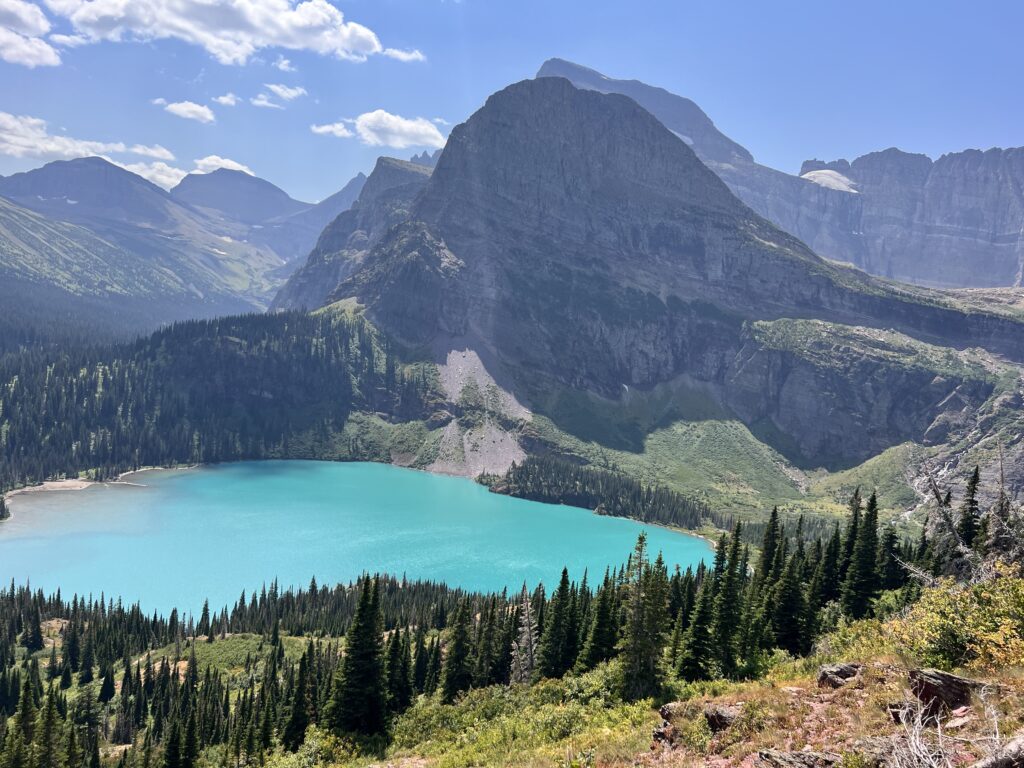
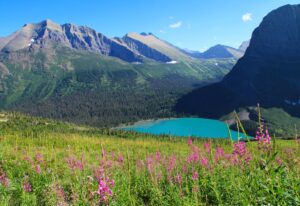
When we got our first glimpse of Grinnell Lake, we couldn’t believe the color. It is a neon blue, it is really indescribable. You will want to take a lot of pictures of it when you first see it, which you absolutely should. But just know that there are much better views of it on the trail ahead.
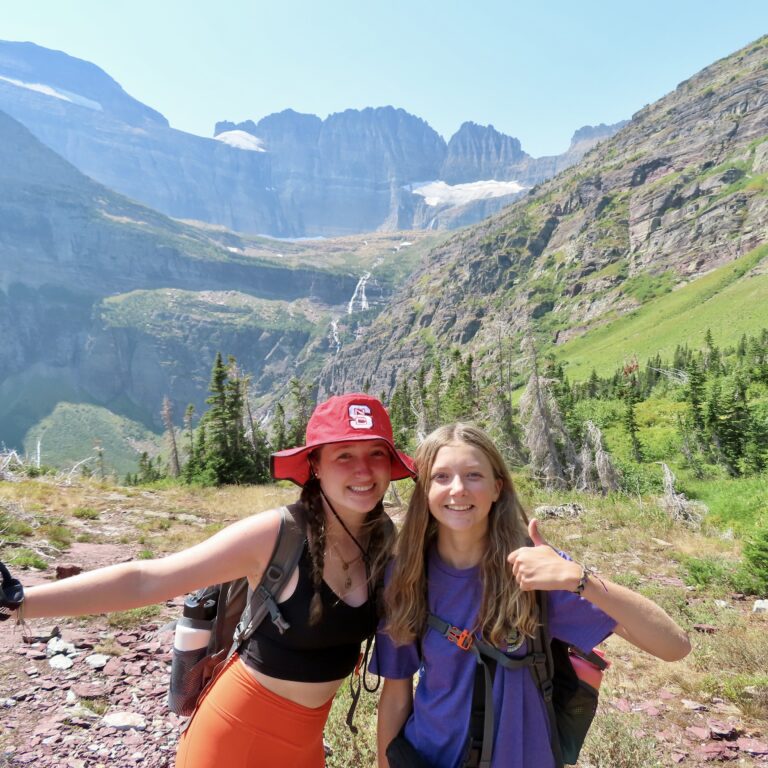
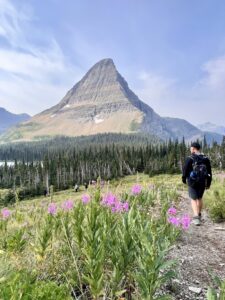
This is where the trail begins to really ascend. It’s all up hill from here. That being said, this part of the trail goes by fast. The scenery is so beautiful, that you stop every few minutes to take a picture or just soak it all in. The fact you are hiking 7 miles seems to escape you and you are just in awe.
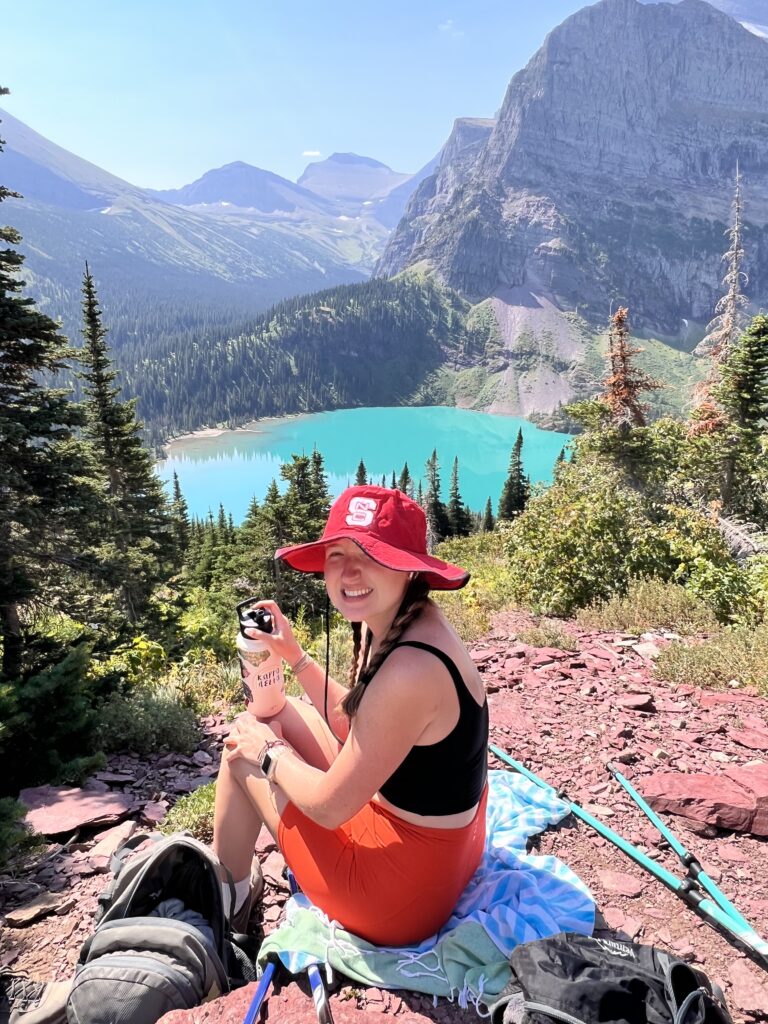
There was a flat rock that overlooked Grinnell Lake, where we laid out our lightweight towels and had a picnic lunch overlooking the gorgeous blue water with the mountains and waterfalls as a backdrop. You can see Salamander Glacier from this vantage point and it looks like a scene from a movie.

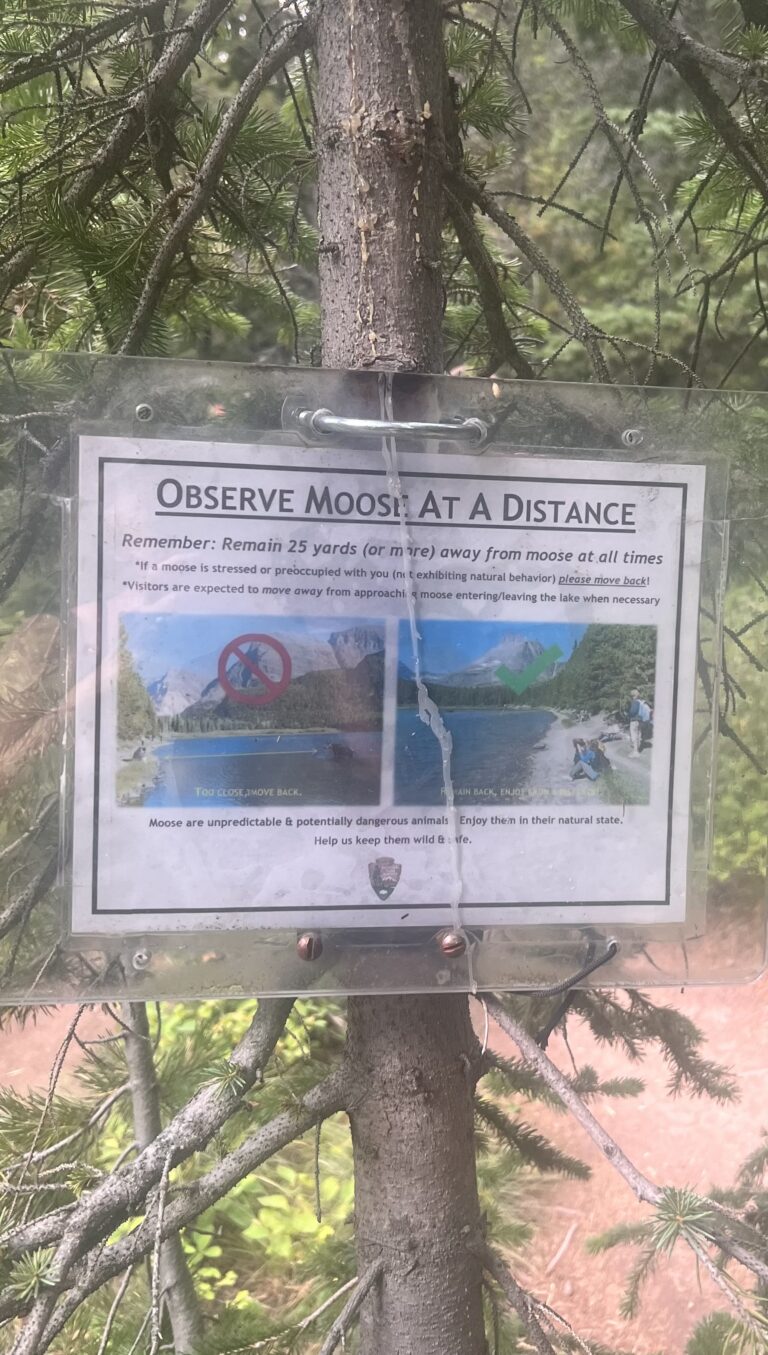
Moose Ahead!
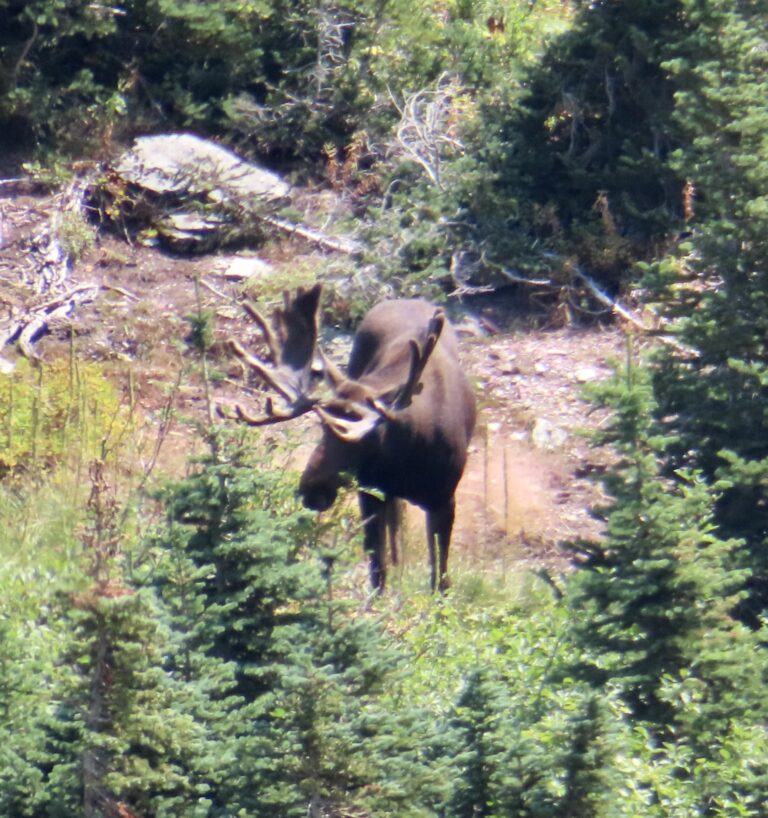
Shortly after we finished up lunch and started back on the trail, we started to see the first early bird hikers coming toward us on their return trip from the glacier. They all said the same thing to us “There’s a moose up ahead on the trail, be careful.”
Follow Me on Instagram For Glacier National Park Content
Follow Me on Instagram For Glacier National Park Content
The Climb
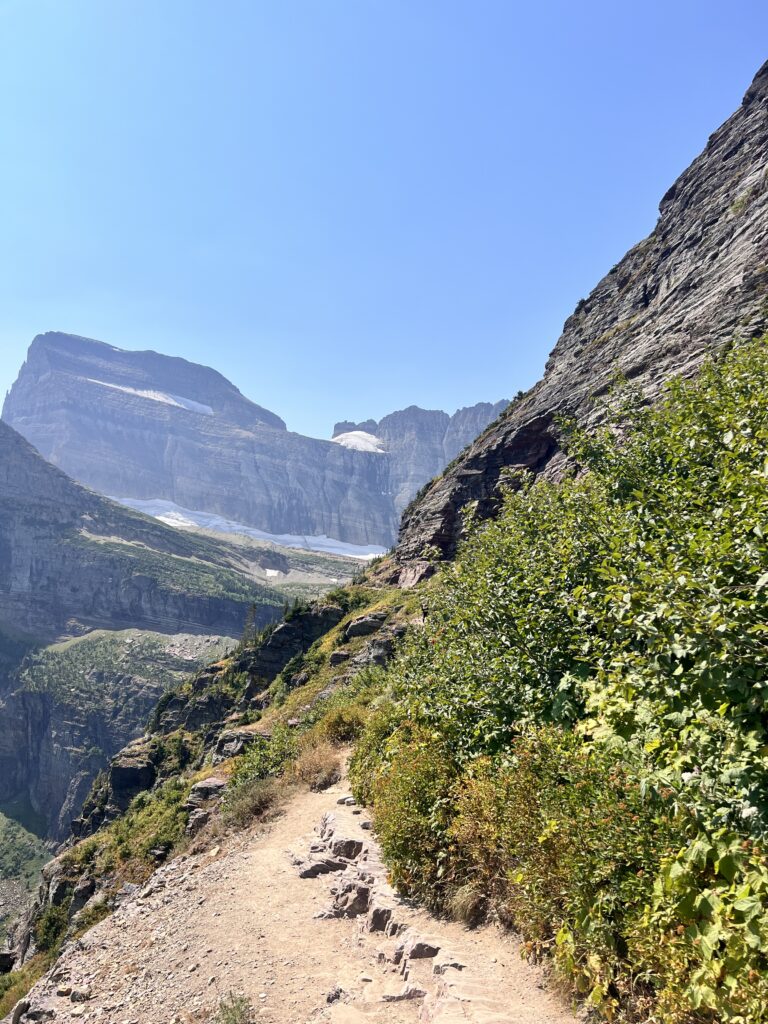
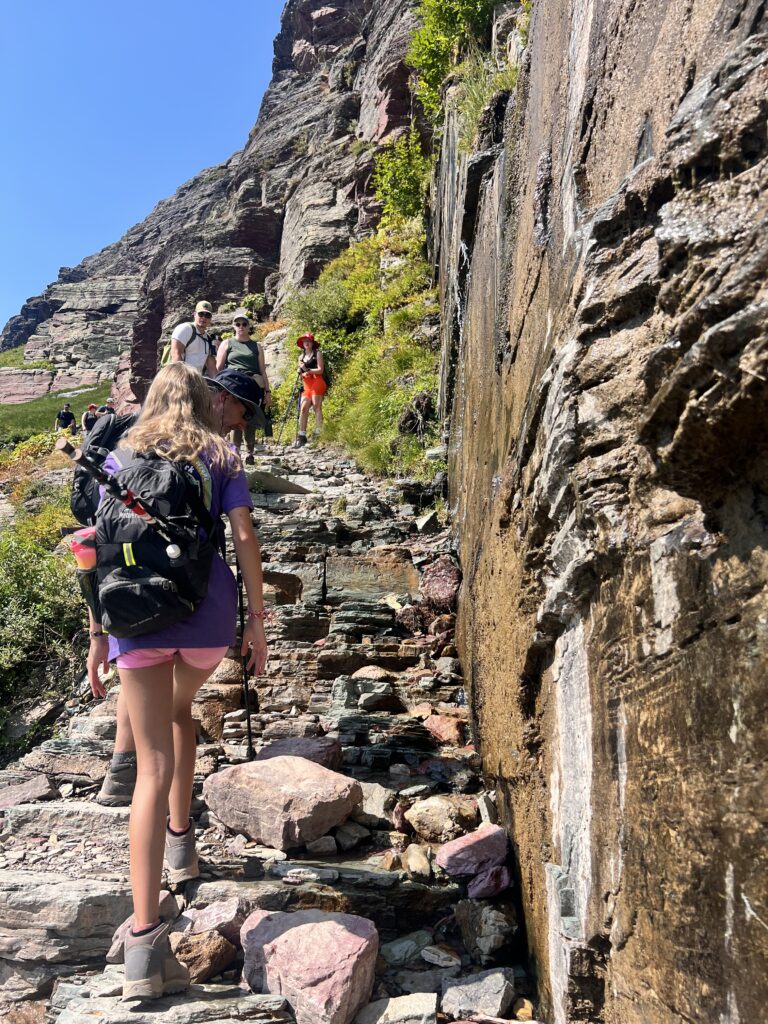
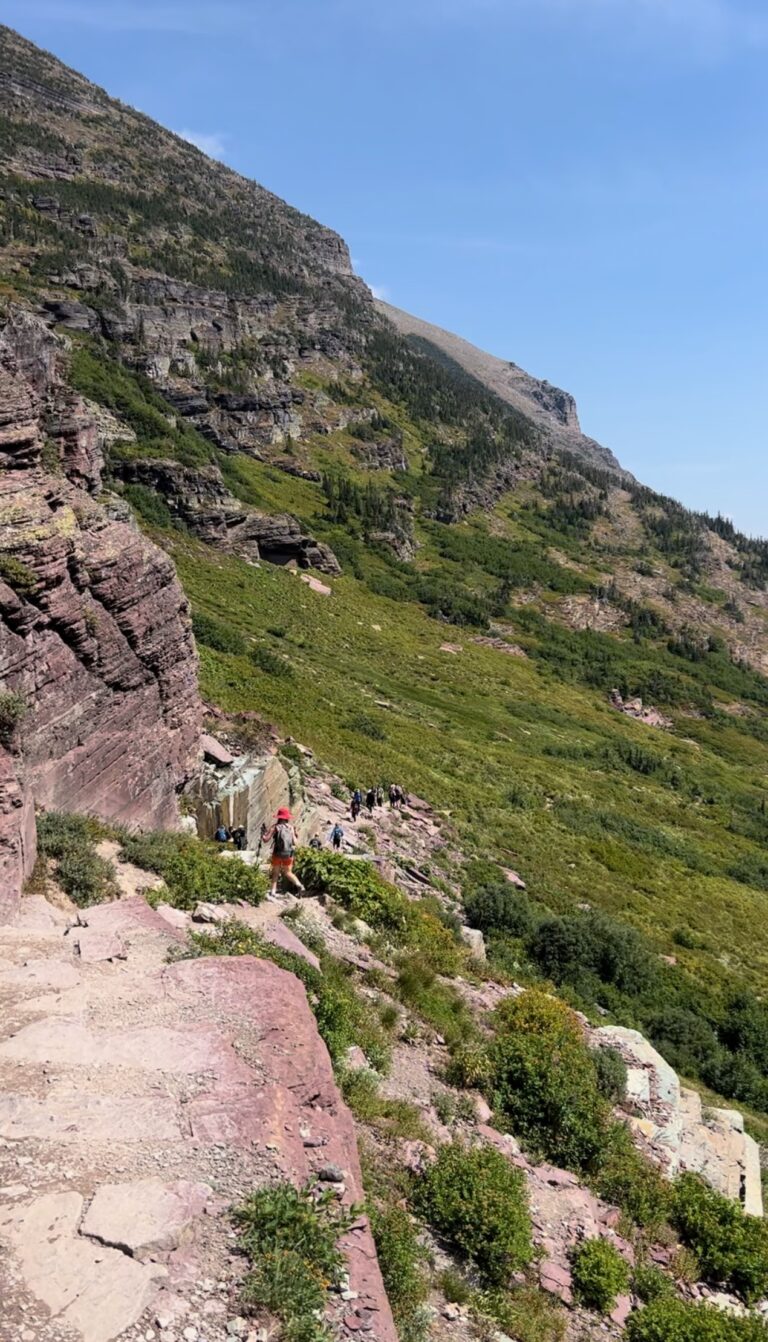
Even though you have been walking uphill for most of the hike, this is where you actually begin CLIMBING. It feels that way, at least.
The last quarter of the hike to the glacier is steep, and just like Highline Trail, has some parts that might be a little nerve wracking for anyone with a fear of heights.
There may be times during this last quarter of the hike where you start to question whether it’s worth it to climb up to the glacier. You may even say ” If I turn around now, I will still have seen the most beautiful sights I have ever seen. I don’t really need to see the glacier.”
Whatever you do, don’t listen to yourself. You will regret it if you turn around at this point. Use your poles, keep your eyes on the prize and know that IT IS WORTH IT!
Grinnell Glacier
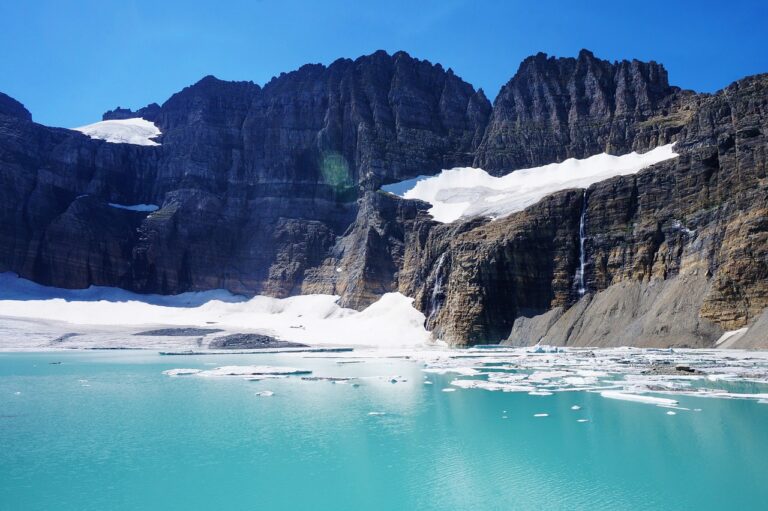
Grinnell Lake is a neon blue unlike any you’ve ever seen. When you arrive at the Grinnell Glacier you will see it is also a blue unlike any you’ve ever seen. Grinnell Glacier is an ice blue, which reflects off of the snow at the top. This is what you came for and once you are there, it does not disappoint.
The first thing you should do, is look at your watch and note how long it took you to get to the glacier from the boat dock. Do a quick calculation of what time you need to leave the glacier to get back to the dock at your desired time.
Then take some time to relax up on the glacier. Sit down, have a snack, dip your toes into the ice cold water. It will feel good on your tired feet. Remind yourself how lucky you are to be seeing this majestic glacier before it is gone for good. Enjoy your bucket list moment!
The Return
The trip down is so much easier than the way up. Between the high you are on from seeing such beauty, and the fact it is literally all downhill from there, the return trip is somewhat of a breeze.
The moose was still in the same spot on our return trip, so we got to see him again. Seeing the lake from the return perspective is different but just as beautiful.
Fork In The Trail
When you reach Lake Josephine, there is a three way fork in the trail. You can continue straight and walk all the way back to the Many Glacier Hotel. You can go right then immediately over the wooden bridge for the boat shuttle dock or you can go right and then take another immediate right on the Grinnell Lake Trail.
It is 1.3 miles from this point to Grinnell Lake….that gorgeous neon blue lake that you saw from above on the hike. You can actually walk right down to it from this point. That is 1.3 miles one way, so a 2.6 roundtrip hike. We were not up for another 2.6 miles, but if we had an extra day in Many Glacier, we would’ve definitely gone back and hiked to Grinnell Lake.
The Return Shuttle
We actually arrived at the dock shortly after the last shuttle left, so we had to wait about 45 minutes for the next shuttle. It wasn’t a bad wait.
There is no cell service anywhere in Glacier National Park, so having to sit for 45 minutes with out being on their phones was probably the toughest part of the entire hike for my teens! We put our feet in the water of Lake Josephine as we waited and skipped rocks.
Since we were near the front of the line, we had no issues getting on the shuttle when it arrived. There were about 20 people at the end of our line who did not make it on to the shuttle and had to wait another hour.
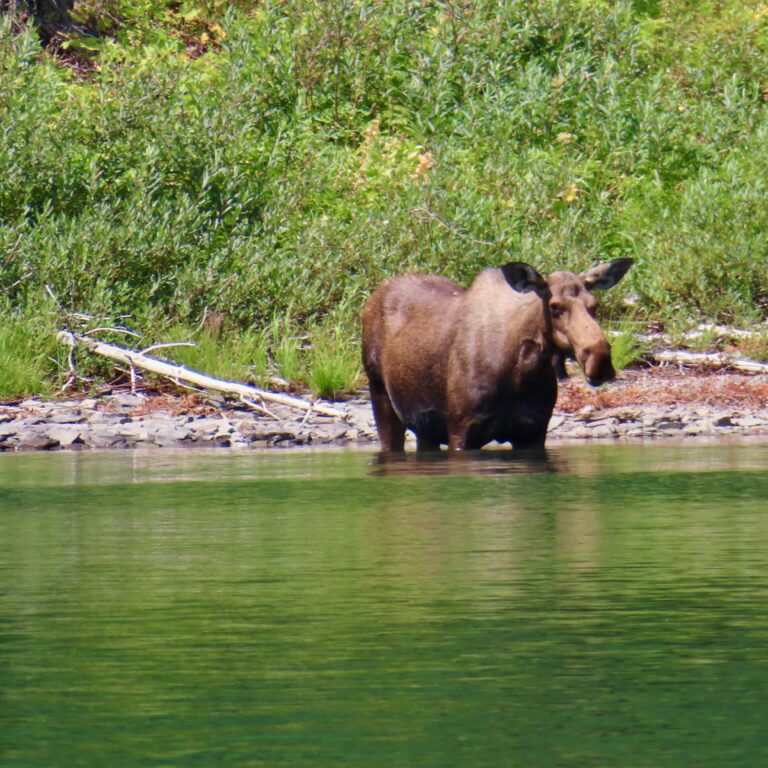
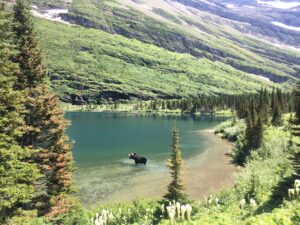
Another Moose!
It was a female moose, just wading in the water. We could see hikers along the trail just above the moose, completely unaware that they were passing over it.
This was where having a camera with a good zoom lens came in handy. My son had my small Canon point and shoot camera , with a great zoom lens. He was taking videos of the moose on the camera. I took videos on my phone, and the difference in the videos was incredible The pictures and videos from my camera were so crisp and clear, it looked like we were so much closer to the moose!
Our boat driver from Glacier Park Boat Company was so wonderful. He really went out of his way to make this moose sighting memorable for everyone on his shuttle.
Fishercap Lake
The Ptarmigan Restaurant back at the Many Glacier Hotel is a great place to grab dinner after your hike. The food was delicious!
I highly recommend stopping by Fishercap Lake after you leave the Many Glacier Hotel. Fishercap Lake is just a mile down the road from the Many Glacier Hotel and is known to be the place to go for moose sightings.
How to Get To Fishercap Lake From Many Glacier Hotel
There was a park ranger standing outside of the Many Glacier Hotel. When I asked him how to get to Fishercap Lake from there, he said it was an easy walk. I’m sure it would’ve been an easy walk, but we were all done walking for the day by that point, so we drove.
As you exit the Many Glacier Hotel parking lot, you will make a left onto the main road and drive a little less than a mile. The road actually ends at the parking lot for the Swiftcurrent Pass Trail. The Swiftcurrent Motor Inn is in the same parking lot.
We weren’t sure how to get to Fishercap Lake from the parking lot, so I asked the kind woman at the gift shop in the Swiftcurrent Motor Inn.
Her response made me feel like I was in an episode of Dora The Explorer. She said “Go down the Swiftcurrent Pass Trail until you get to the Twisty Curvy Tree. When you see the S-shaped tree, make a left and the lake will be just ahead.” When I walked out I told my kids the directions and added “I just hope we don’t see Swiper The Fox on our way there!”
All joking aside, her directions were SPOT ON. There is indeed a tree shaped like an S, and we found the lake easily from there.
Yet Another Moose!
Fishercap Lake is only a quarter mile into the Swiftcurrent Pass Trail. It is only a half mile roundtrip hike from the parking lot.
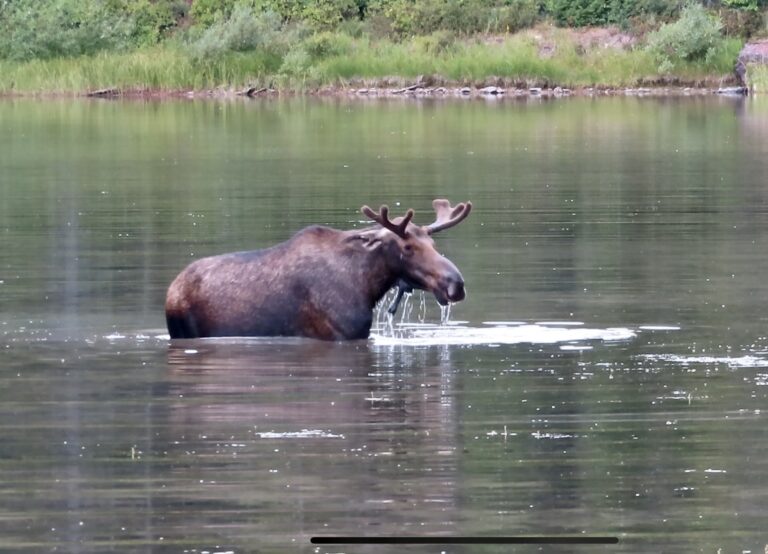
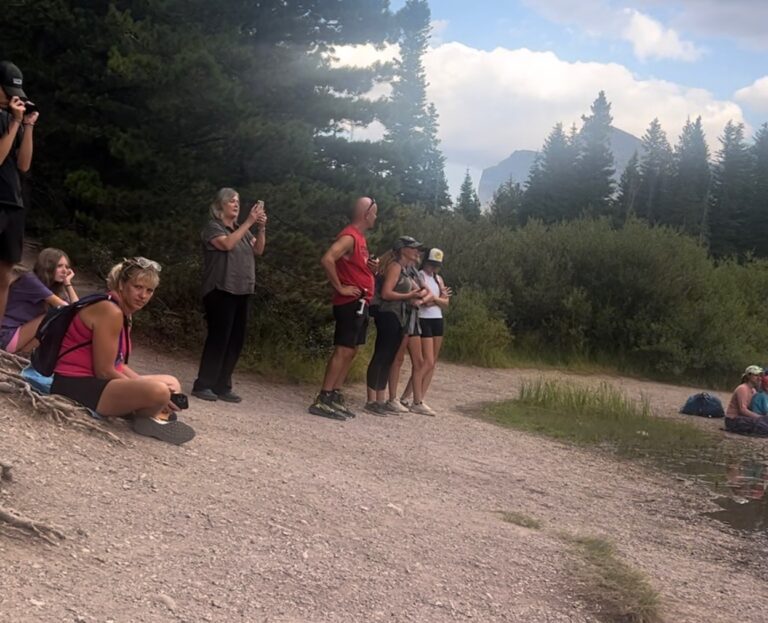
When we got to the lake, we were happy to see that there was a moose in the lake, grazing for food. There were about 20 people on the shore of the lake, some standing, some sitting in chairs that they had brought. But everyone was silent, as not to disturb the moose. The only sounds you could hear was the crunching of the sand as newcomers arrived and the shuttering of cameras. It was really beautiful.
Fishercap Lake was the perfect ending to our favorite day and hike in Glacier!
Grinnell Glacier was one of our favorite parts of Glacier National Park. Check out What to Pack For Glacier National Park for a complete packing list. Also, visit my Amazon Storefront for hiking essentials.
PIN IT!
Use the pins below to save this article to Pinterest for later!
This post may contain affiliate links that, at no cost to you, I may earn a small commission on. As an Amazon Associate, I earn from qualifying purchases. I only recommend products that I use and love. Thank you for supporting my blog.
Book your glacier national park trip today
Search and compare prices for all rental car companies in the Glacier National Park area:
Search Hotel and Vacation Rentals near Glacier National Park:
Drop a Comment Below!
Was this article helpful? Have you hiked to Grinnell Glacier? Would love to hear from you. Drop a comment below.


Awesome report of all you did and shared. Would love to take the trip!!! ❤️